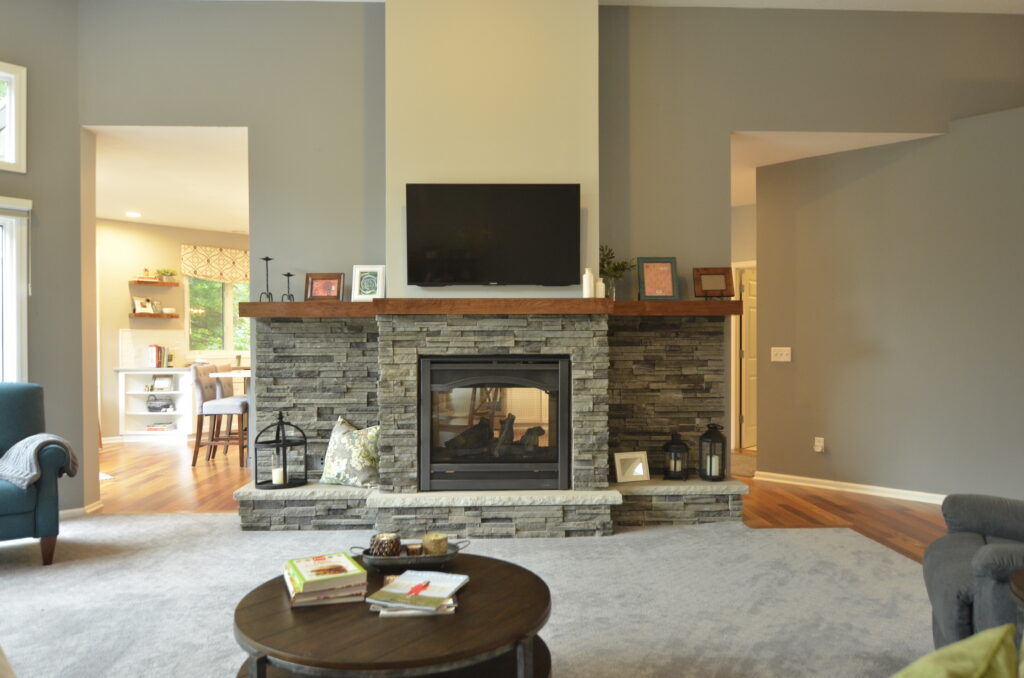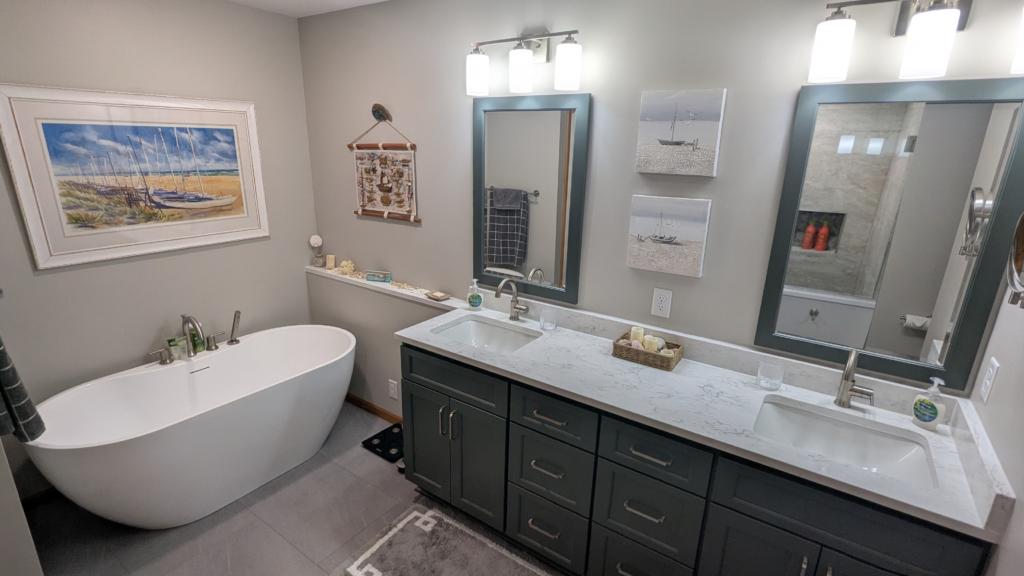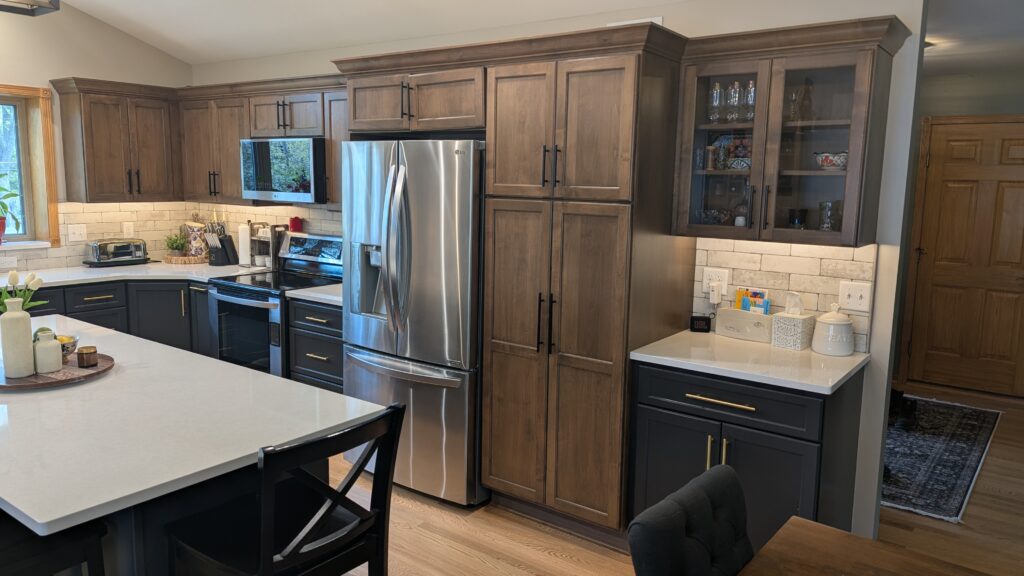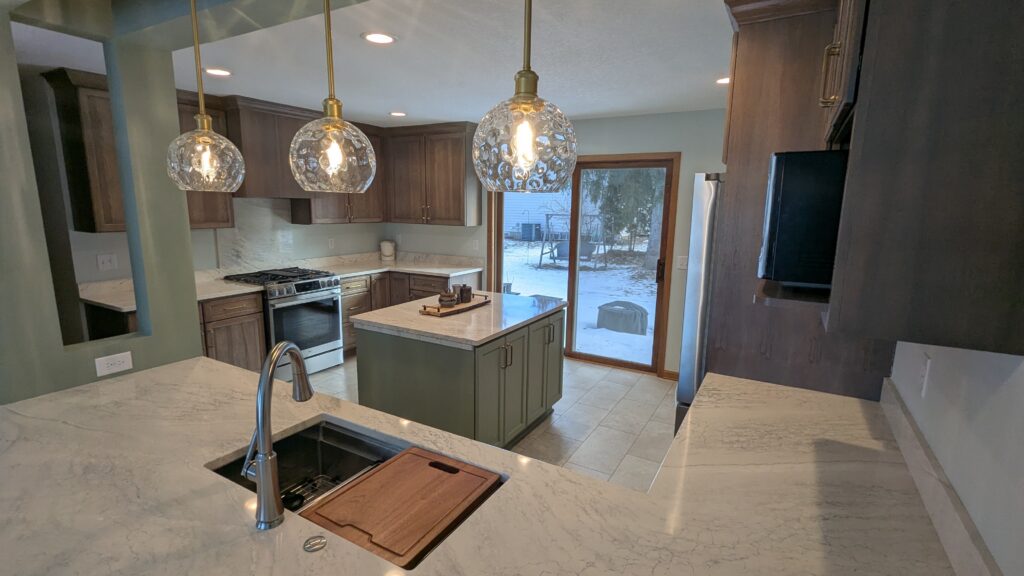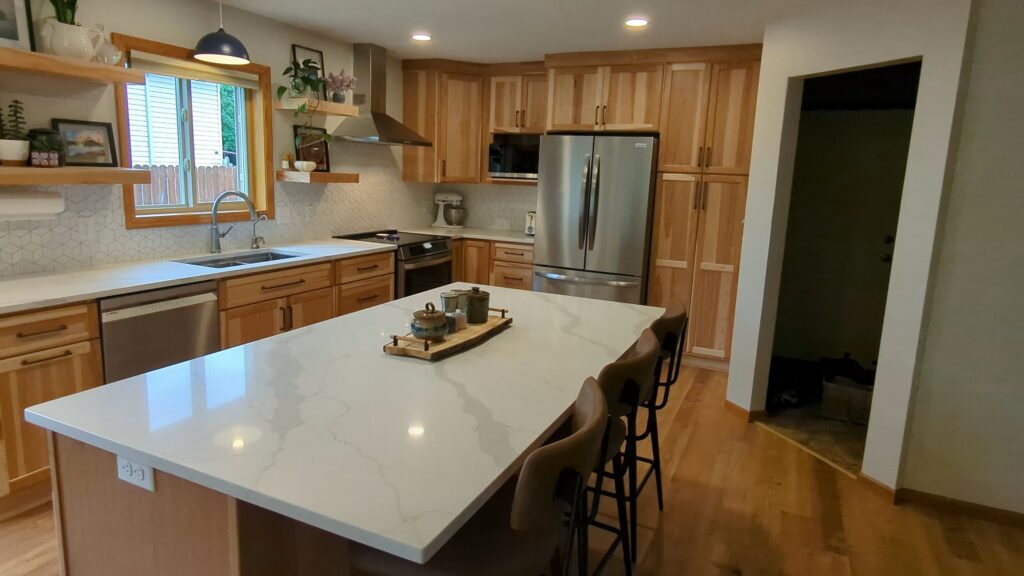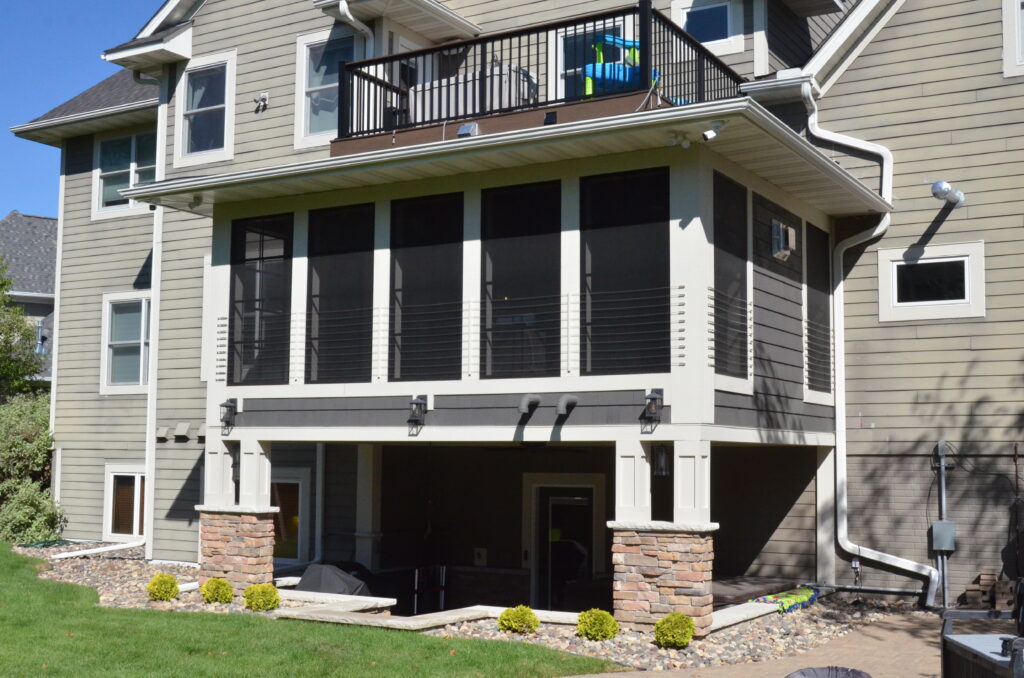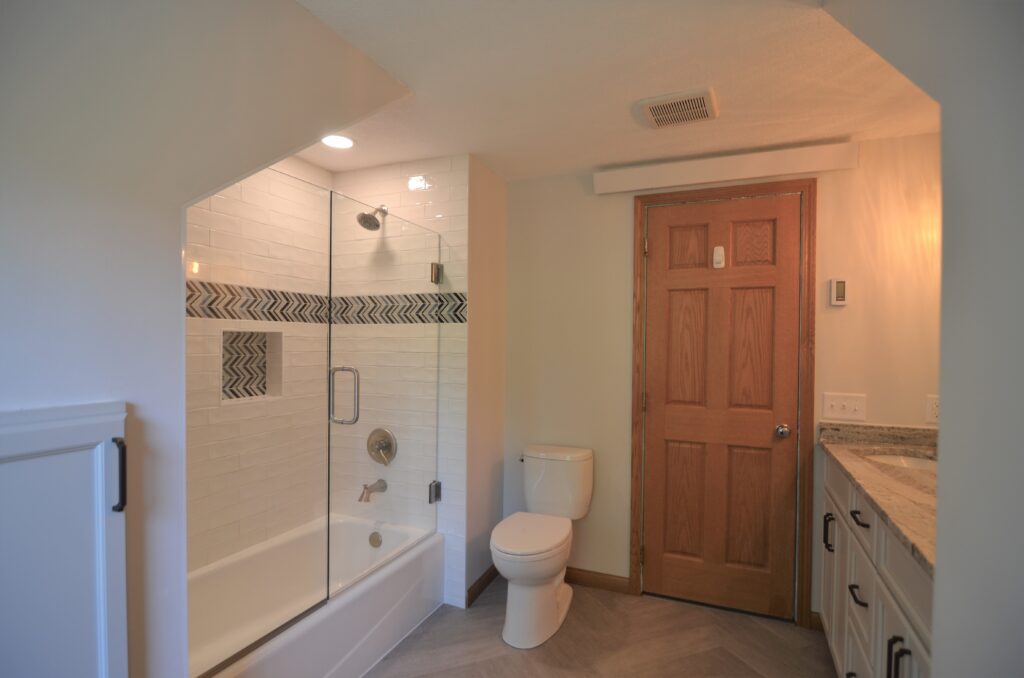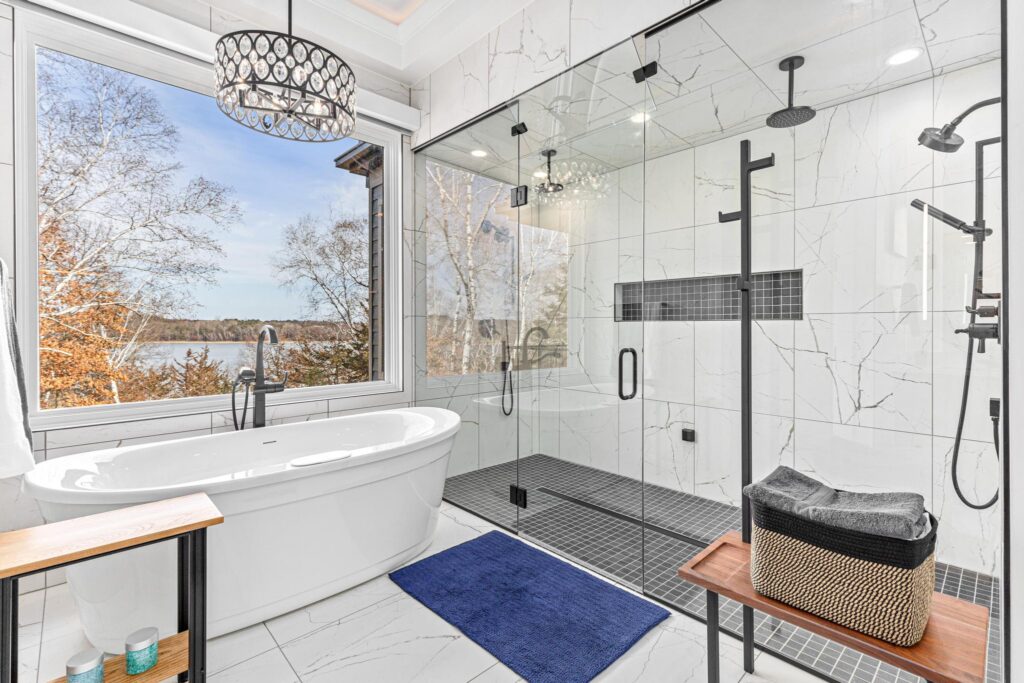
When most homeowners start thinking about remodeling, their minds usually go straight to the big three: kitchens, bathrooms, and basements. Those are the spaces that tend to get the most attention, and for good reason. They’re rooms where thoughtful upgrades can completely change how a home feels, improve daily routines, and add value to the overall property.
At Russell Room Remodelers, we obviously focus on kitchens, bathrooms, and basements. But one main room, that everyone has (usually more than one), tends to get left out, and that’s bedrooms. And honestly, there’s at least four pretty simple reasons why.
Bedrooms are one of the few rooms in a home that typically don’t require much beyond the basics. A bedroom already has what it needs to serve its main purpose: four walls, a floor, a ceiling, a closet, and a place for your furniture. Unlike a kitchen where cabinets, countertops, appliances, and layout changes can completely transform the way a family uses the space, or a bathroom where plumbing, fixtures, tile, and storage all create opportunities for improvement, a bedroom is often just a finished box waiting to be personalized.
Most homeowners handle that personalization themselves. They choose the bed, nightstands, dressers, artwork, window treatments, lighting, and décor that fit their style and lifestyle. Furniture and personal touches can completely change the atmosphere of a bedroom without requiring construction at all. A new headboard, fresh paint, updated bedding, or better organization can sometimes make a room feel brand new without ever needing a contractor involved.
That’s one of the main reasons bedroom remodels are less common. Usually there isn’t an obvious problem to solve or a major feature that needs replacing. If the walls are in good condition, the flooring is functional, the closet provides enough storage, and the room gets the job done, many homeowners don’t see a reason to start tearing things apart.
In many ways, bedrooms are one of the most straightforward rooms in the house. They’re designed around comfort and relaxation rather than complex features or heavy-use functions. A kitchen needs to support cooking, entertaining, and gathering. A bathroom has plumbing, moisture concerns, and daily use. A basement often has untapped potential because it can become almost anything. A bedroom, on the other hand, usually just needs to be a comfortable place to rest. That doesn’t mean bedrooms never need attention, though.
Over the years, we have completed a few bedroom projects, but they typically fall into a few specific categories. Some bedrooms were part of a larger whole-house remodel where the entire home needed to be updated together. When walls are being opened up, layouts are changing, or multiple areas of a home are being renovated, it makes sense to bring the bedrooms into the overall plan.
Other bedroom projects have been necessary because of needed upkeep or structural repairs. Older homes sometimes have issues that need to be addressed, such as under-sized framing, damaged materials, poor past remodels, insulation problems, moisture concerns, or conditions that affect the safety and comfort of the room. In those situations, remodeling isn’t about adding unnecessary features; it’s about making sure the space is properly maintained and safe for the future.
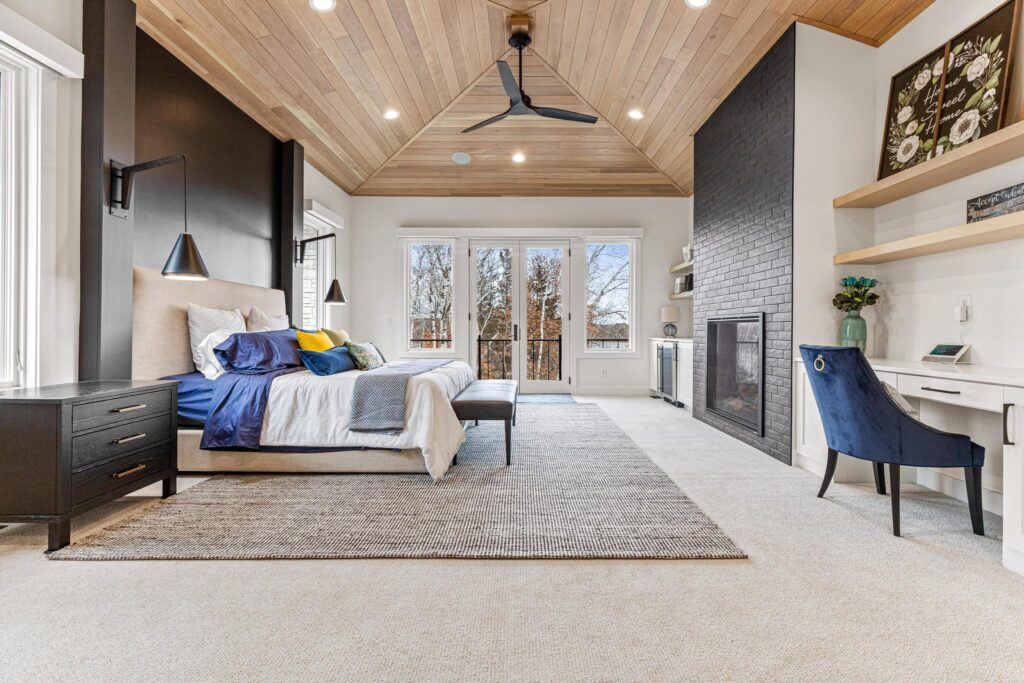
Then there are the bedroom projects for homeowners who want something completely different. A standard bedroom may not need much, but that doesn’t mean it can’t become an impressive and highly customized space. Some homeowners want features that you won’t find in 99% of homes, creating a room that feels truly one-of-a-kind.
Examples often could custom built-in wardrobes, hidden storage compartments, a built-in reading nook, a dramatic vaulted or tray ceiling, integrated smart lighting systems, a fireplace feature wall, a custom dressing room, a luxury hotel-style suite layout, built-in entertainment centers, or a combination bedroom and private office space. Some homeowners even want unique architectural details, specialty finishes, or custom millwork that turns a basic bedroom into a standout feature of the home.
These types of projects are where a bedroom remodel makes a lot of sense. It’s not about fixing something that is outdated or broken; It’s about creating something that wasn’t there before.
For many homes, the bedroom will remain one of the spaces where furniture and personal style do most of the work. And there’s nothing wrong with that. Not every room needs a big makeover and sometimes the best improvement is simply to make the room feel more like your own.
While we may never take a saw or drill to the bedroom in many homes, we’re always ready to take on whatever remodeling project you have in mind. Whether it’s a kitchen that needs a complete overhaul, a bathroom that needs a modern update, a basement that needs a new purpose, or even a unique project somewhere else in your home, Russell Room Remodelers is here to help.
Every home is different, and every homeowner has different goals. Maybe you need more space, better functionality, or a feature that makes your home stand out. Whatever the project may be, we’re ready to bring the experience and craftsmanship needed to make it happen.
If there’s a room in your home that no longer works for you, we’d be happy to help turn it into a space that does. Start your room remodel today by calling 651-735-8367 or using our Contact Card here.